🔹 Prerequisites
Before you begin:
-
Salesforce Admin access (required for package installation).
-
Linq Admin access (organization-level).
-
An active Linq One or Linq Blue subscription.
-
Pop-ups enabled for the OAuth window.
-
Optionally: a Salesforce Sandbox for testing before production install.
🔹 Step 1 — Install the Linq App Package in Salesforce
-
Log in to your Salesforce Admin account.
-
Open the Linq installation link provided by your Linq Partner Success Manager (PSM).
-
The installation link uses an unmanaged package URL until it’s published to Salesforce AppExchange.
-
-
Choose environment:
-
Install in Sandbox (recommended for first install).
-
Install for All Users for organization-wide visibility.
.png?width=670&height=507&name=image%20(19).png)
-
-
Approve requested permissions and continue.
-
Wait for confirmation that installation succeeded.
🔹 Step 2 — Connect Salesforce from Linq
-
Go to linqapp.com and sign in.
-
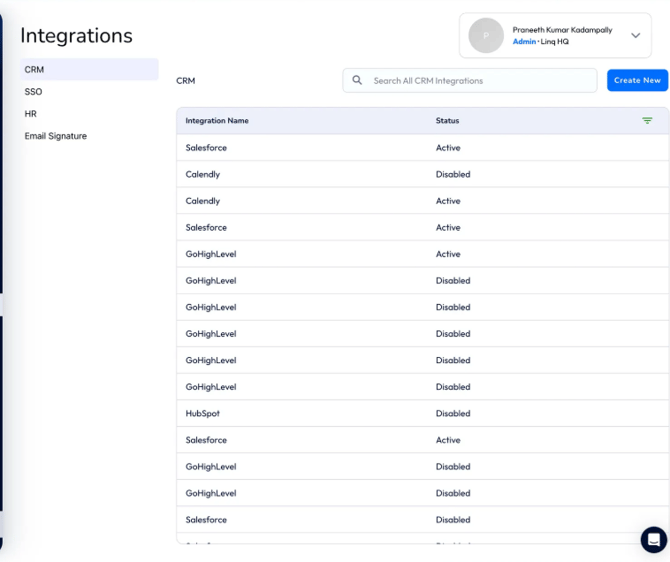
Switch to Admin Dashboard → Integrations.
-
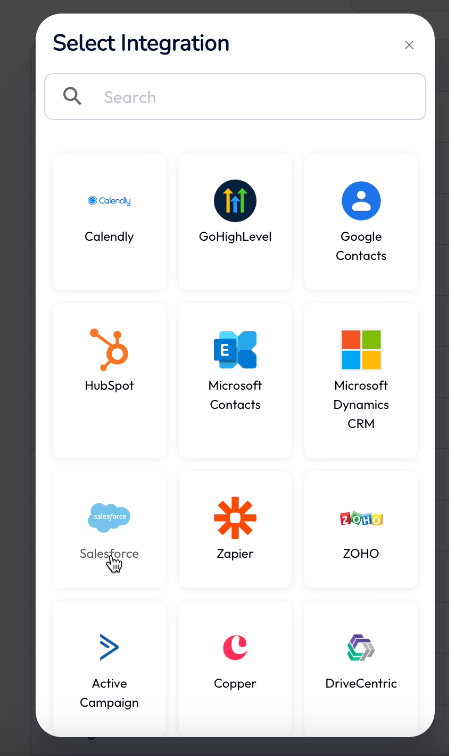
Select Create Integration → Salesforce.
-
Authenticate via Salesforce OAuth window.
-
Choose your Salesforce environment (Production or Sandbox).
-
Log in with your Salesforce Admin credentials.
-
-
Once connected, the Salesforce instance will appear as “Active” under your Linq integrations list.
🔹 Step 3 — Assign Salesforce Permission Sets
-
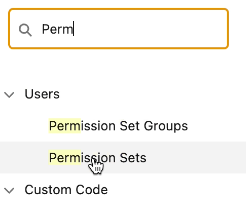
In Salesforce, go to Setup → Permission Sets.
-
Locate “Linq User Permissions.”

-
Click Manage Assignments → Add Assignments.
-
Select all users who will use the Linq integration.
-
Save changes.
💡 This allows each assigned user to access the Linq Dialer, Messaging Inbox, and custom components in Salesforce.
🔹 Step 4 — Configure Mapping in Linq Settings
-
Go to Linq App → Integrations → Salesforce → Field Mapping.
-
Map Linq fields to Salesforce fields.
Linq Field Salesforce Field First Name Lead.FirstName Last Name Lead.LastName Email Lead.Email Phone Lead.Phone Company Lead.Company Custom Questions Custom fields (e.g., Linq_Event__c) -
Ensure the Phone field matches the Salesforce object you use (
PhoneorMobilePhone). -
Save your mappings.
🔹 Step 5 — Map Linq Users to Salesforce Users
-
In Salesforce-App Launcher-Linq
-
Match Salesforce users to their Linq accounts.
-
If emails match, mapping happens automatically.
-
If not, select manually and assign a Linq number to each user.


-
-
Save your mappings.
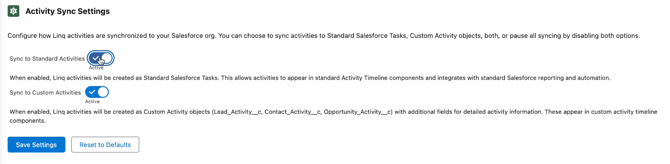
🔹 Step 6 — Configure Activity Logging Preferences
-
In the Linq Salesforce settings tab, choose Activity Logging Options.

-
Select:
-
Standard Task Logging → syncs activities to Salesforce’s built-in task object.
-
Custom Linq Activities → uses Linq’s enhanced Lightning Component for richer UI (includes call recordings and transcripts).
-
-
You can enable both for reporting + advanced viewing.
-
Save changes.
🔹 Step 7 — Add Linq Components to the Salesforce App
A. Add the Linq Dialer to the Utility Bar
-
Go to Setup → App Manager → Lightning Sales App → Edit.

-
Open Utility Items (Desktop Only).
-
Click Add Utility Item → Search “Linq Dialer.”

-
Set dimensions:
-
Width: 400
-
Height: 700
-
-
Label the item “Linq” or “Linq Dialer.”

-
Save.
B. Add the Chat Frame & Activity Timeline
-
Open a Lead record in Salesforce.
-
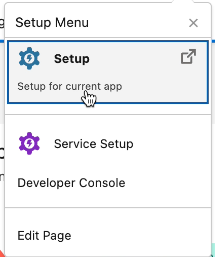
Click the ⚙️ Setup → Edit Page.
-
From the left panel, drag:
-
External Chat Frame → onto the layout.
-
Lead Activity Timeline → below it.
-
-
Save and activate the page.
🔹 Step 8 — Test the Integration
-
In Salesforce, open a Lead record.
-
From the Linq Dialer, send a test iMessage or call.
-
Confirm:
-
Message appears in the Messages tab.
-
Activity logs appear under the Lead’s timeline.
-
-
Verify in Linq App that the same activity is visible.
🔹 Step 9 — Inbound Calls & Notifications
-
Inbound calls currently route through the Linq App (web or mobile).
-
You’ll receive an audible and visual notification when calls arrive.
-
If the Linq App tab is open, it rings directly from your browser.
-
For teams using other dialers (e.g., Dialpad), you can enable Call Forwarding in Linq Admin:
-
Admin → Member Mode → Edit Profile → Forwarding Number -
Forward inbound calls to an external number or dialer line.
-