Managing Contacts in Linq (Contacts Tab)
The Contacts tab is your central address book in Linq. From here you can:
-
View all contacts tied to your organization
-
Manually add new contacts
-
Edit or delete existing contacts
-
Sort, filter, and tag contacts for easy segmentation
Keeping this area clean and organized makes calling, texting, and reporting much easier for your whole team.
1. How to Open the Contacts Tab
-
Log into your Linq Zero dashboard.
-
In the left sidebar, click the Contacts icon.

-
At the top of the middle column, choose a view:
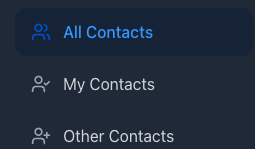
- All Contacts-contacts in organization
-
-
My Contacts – contacts you own
-
Other Contacts – contacts owned by teammates
-
2. Adding a New Contact
You can manually create contacts for new leads, internal teammates, or data clean-up.
-
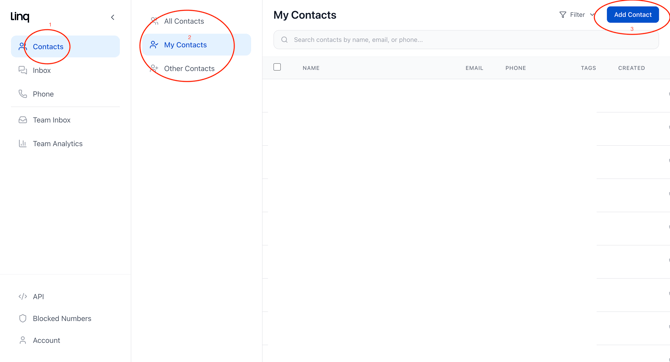
Go to Contacts → All Contacts (or My Contacts).


-
Click Add Contact in the top-right corner.
-
-
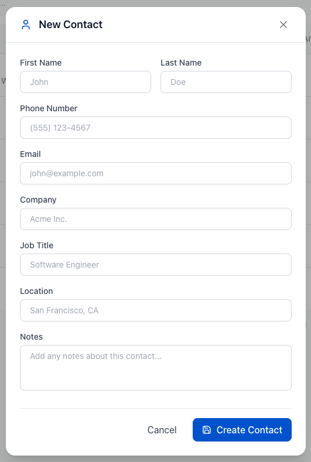
In the New Contact window, fill in the details:
-
First Name & Last Name
-
Phone Number
-
Email
-
Company
-
Job Title
-
Location
-
Notes (optional)
-
-
-
Click Create Contact.
Your new contact will now appear in the list and can be called, messaged, or updated like any other record.
3. Editing an Existing Contact
Use this when:
-
A customer changes jobs, email, or phone number
-
You need to fix a typo
-
You want to add more context (company, title, notes, etc.)
-
In Contacts, find the contact you want to update.
-
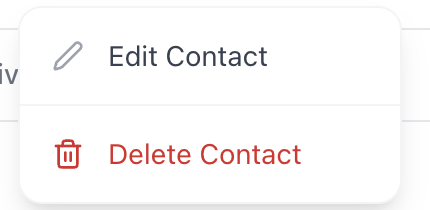
Click the three dots at the far right of that contact row.
.png?width=427&height=213&name=Screenshot%202025-12-09%20at%2010.50.52%20AM%20(2).png)
-
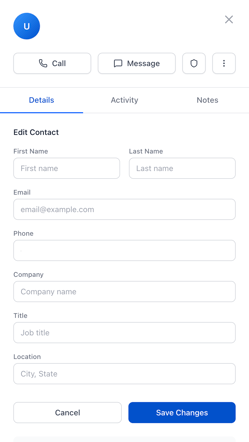
Select Edit Contact.

-
Update any fields you need (name, phone, email, company, title, location, notes).
-
Click Save Changes.
Edits are applied immediately and will be reflected everywhere that contact is used (Phone, Inbox, Team Inbox, etc.).
4. Deleting Contacts (Single or Bulk)
Use delete for test records, bad imports, or obvious duplicates.
4.1 Delete a single contact
-
In Contacts, hover over the contact you want to remove.
-
Click the three dots on the right side.
-
Choose Delete Contact.
-
Confirm the deletion.
⚠️ Deletion is permanent. Once a contact is deleted, it cannot be restored.
4.2 Bulk delete multiple contacts
-
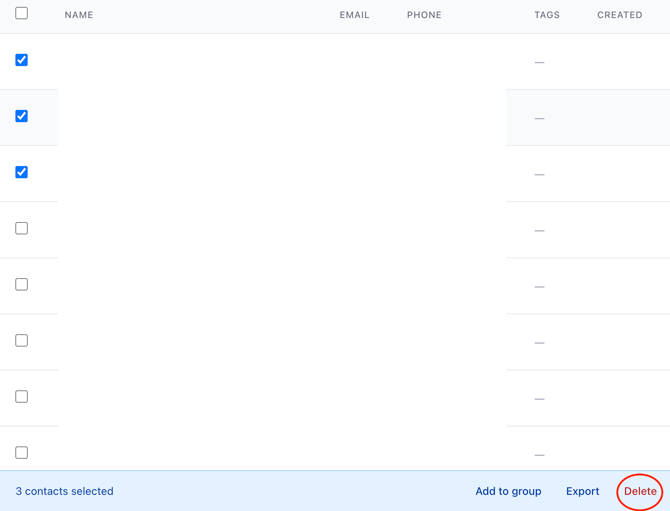
In Contacts, check the box beside each contact you want to remove.
-
At the bottom-right, click Delete.
-
Confirm the deletion.
Bulk delete is helpful when cleaning up old test contacts, spam, or unwanted imports.
5. Sorting and Filtering Contacts
Sorting and filtering makes it easy to find the right segment of contacts, such as:
-
All contacts for a specific company
-
Recently created contacts
-
Contacts with a certain phone or email pattern
-
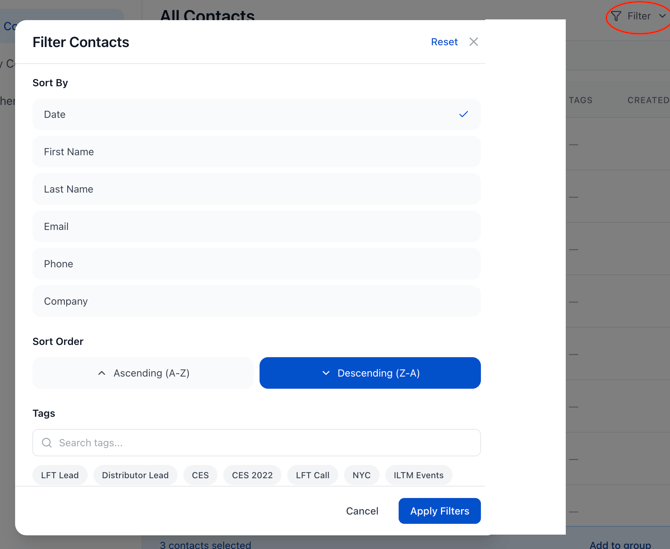
In Contacts, click Filter at the top-right of the table.
-
In the Filter Contacts window you can:
-
Choose a Sort By field:
-
Date
-
First Name
-
Last Name
-
Email
-
Phone
-
Company
-
-
Choose Ascending (A–Z) or Descending (Z–A) order.
-
-
Add any additional filters (e.g., tags or other criteria) if available in your environment.
-
Click Apply Filters.
- Use this view to QA recent imports, prep call lists, or build quick segments before outreach.
6. Tagging Contacts
Tags give you flexible, lightweight segmentation without needing extra custom fields. Examples:
-
Pilot, High-Volume, VIP
-
Trade Show – October, Webinar – Q4, Internal Test
-
Flagged, Escalated, Needs Follow-Up
6.1 Add or edit tags on a single contact
-
Open Contacts and click a contact’s name to open the right-hand detail panel.
-
Scroll to the Tags section and click Manage or click directly into the tag field.

-
Type to create a new tag or select an existing tag from the dropdown.
-
Click Save, then Done.
Tags will now show in the TAGS column in the contact list and can be used with filters and searches.